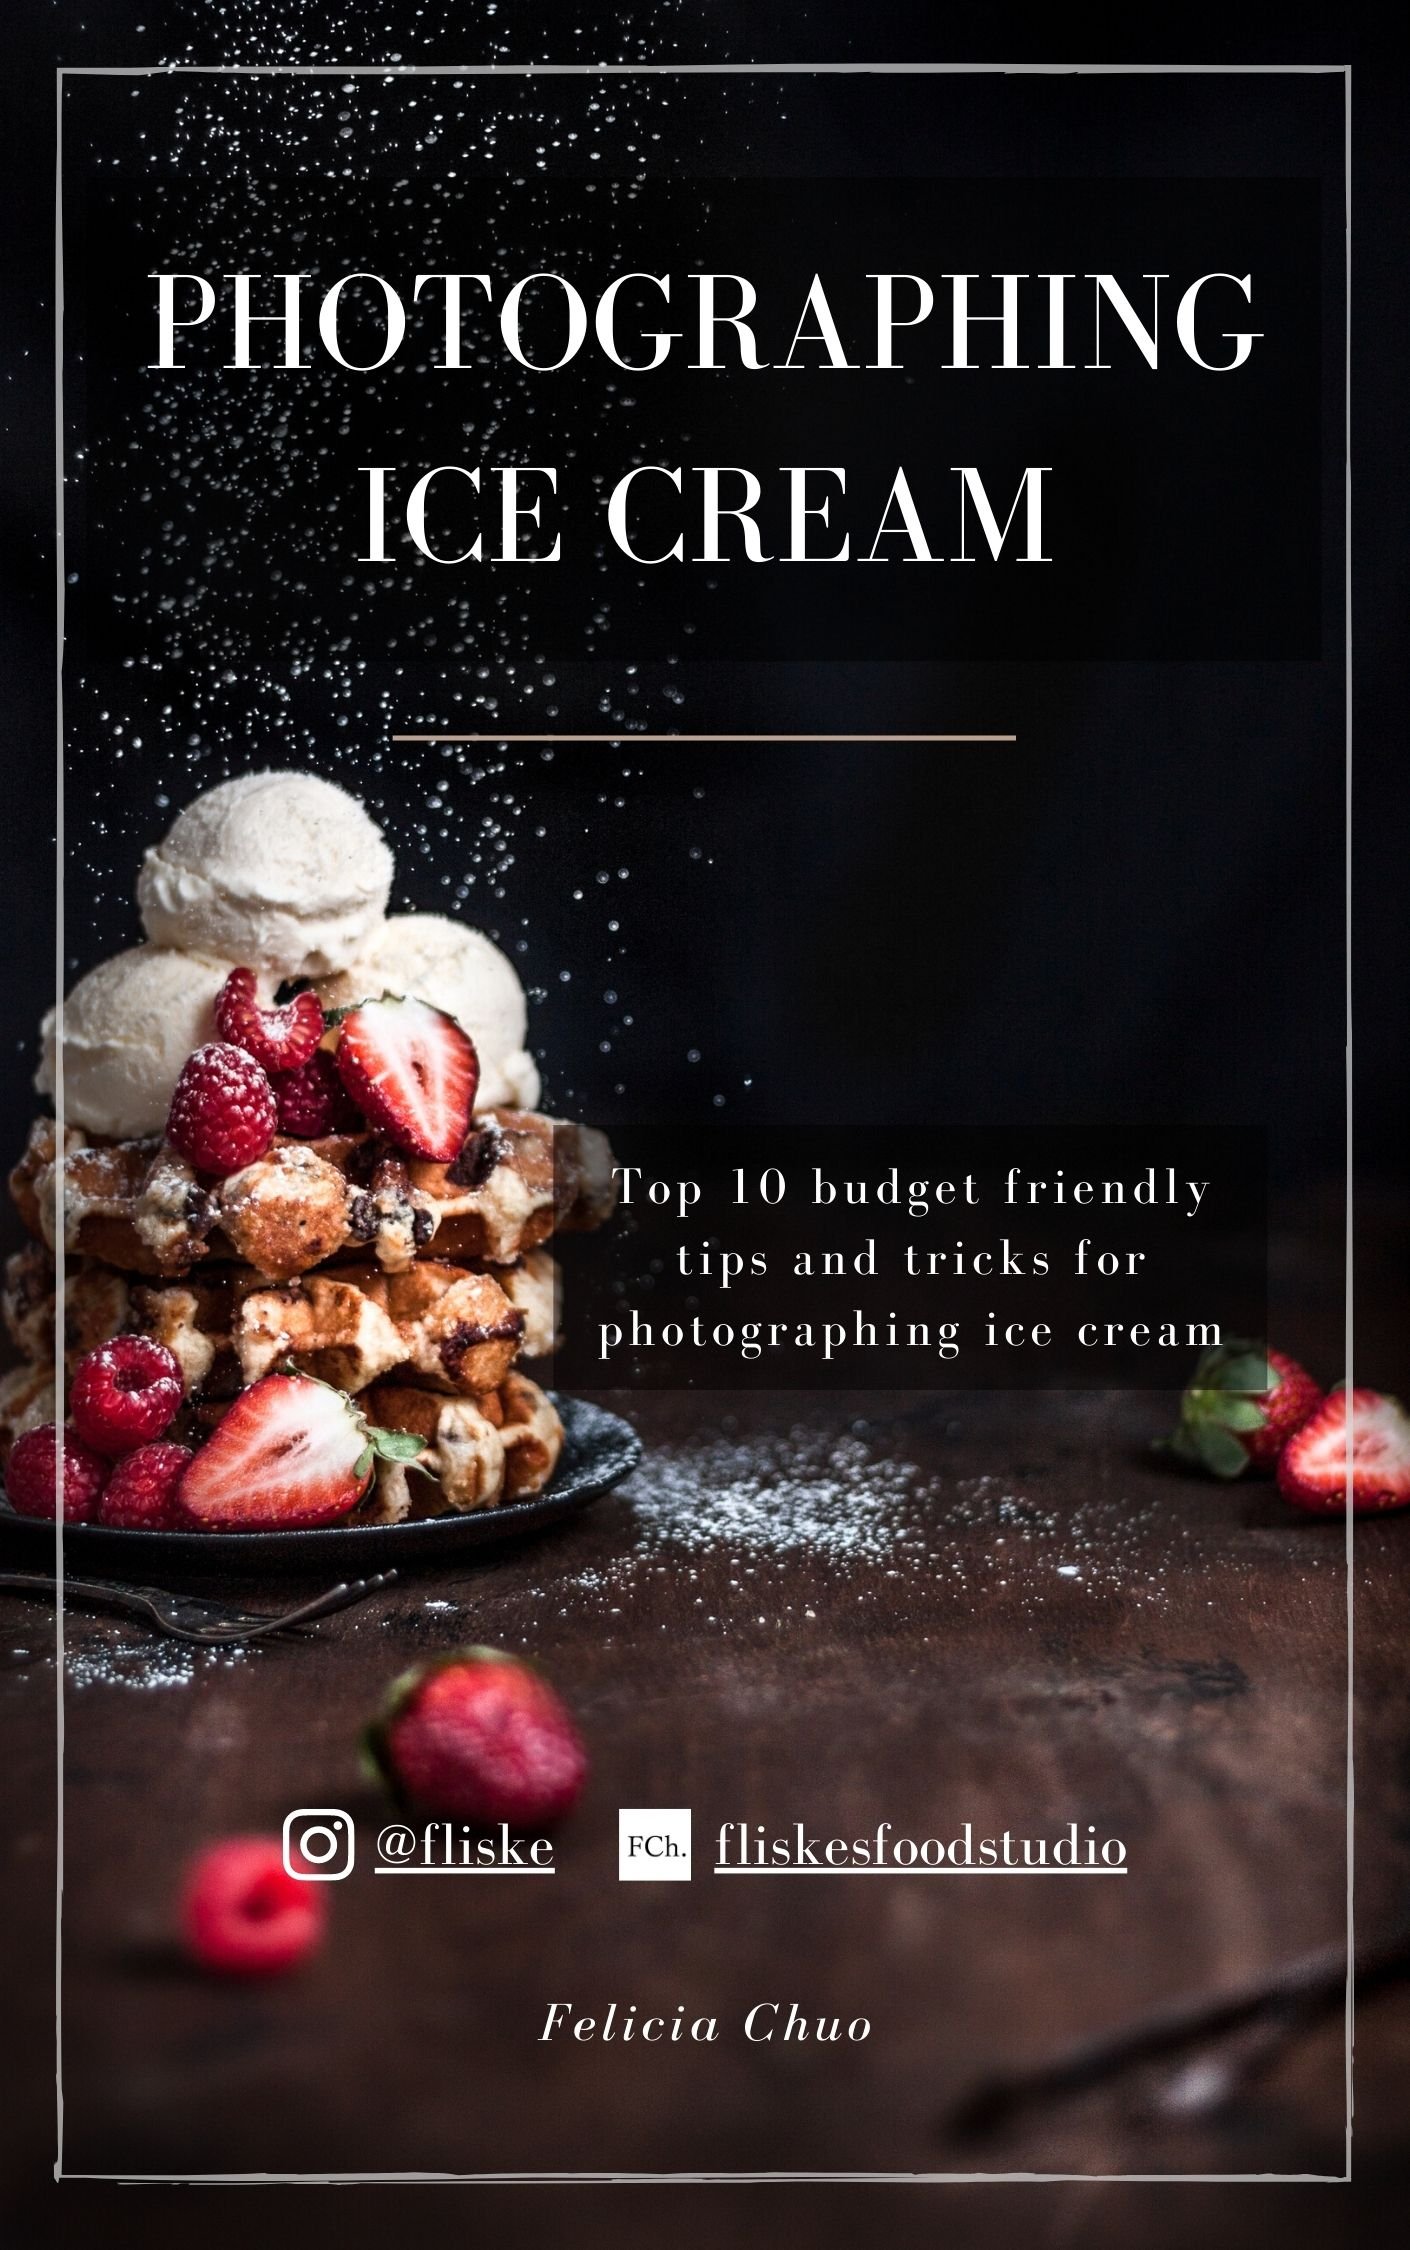
10 budget tips for photographing ice cream
Aah ice cream. Love to eat it, fear photographing it.
Probably one of the most stressful things to shoot due to its quickly melting nature.
But fear not! I have some easy to implement tips that will make your next (real) ice cream shoot (hopefully) less stressful. No special, additional, hard to acquire equipment required!
Having shot a few projects for an ice cream client (if they ever see this, y'all lovely), I've learnt some things along the way. Some more obvious and have been noted heaps of times, and others not so obvious.
Before I was contacted by them, I had never properly shot ice cream. I had of course 'shot' ice cream before, so I knew the basic tips, but I had never shot it before. As in, I never had to worry about getting the 'perfect' scoop and whatnot. Of course I said yes to the job, but I also then went online frantically searching for tips on how to go about with an ice cream shoot.
I'm not gonna lie, a lot of the tips I found felt like no-brainers to me as they were already things I had thought about, so I just mostly had to wing it and figure things out along the way. The other tips, whilst great, I could not use as they required special equipment that I could not get my hands on.
Thus, these are tips that do not require any special equipment or difficult to obtain items.
I do not claim to be an expert or to scoop perfect scoops every time (far from it, in fact!). These are just things I have learnt along the way and thought might be helpful!

So here we go...
10 food photography and styling tips and tricks for ice cream
1. Set up your scene beforehand
Starting with the most basic, no-brainer tip, just in case you haven't even thought about shooting with ice cream before - set up your scene before adding the ice cream to it. Use scrunched up tissue paper or anything similar in place of the ice cream. This will allow you to set your focus properly and make sure your composition and lighting is perfect without having melting ice cream on your scene.
You should also have your camera ready on your tripod (on on top of something, whatever you've got) so that your focus is perfect, because once the ice cream is on the scene, it's go time.
2. Prepare your scoops the day before
Pre-scoop your ice cream balls, and always way more than you'll actually need! You want your scoops to last as long as possible on set, so refreezing them after scooping is your best bet. If you scoop them then place them directly on the scene, you're placing already softened ice cream onto the scene.
Scooping them beforehand also gives you time to see if the scoops are how you want them to look. When they have been refrozen they are also easier to reshape, for instance if you want to add a little ruffle to it or take the ruffle away.

3. Use Pyrex
Prepare a baking paper lined Pyrex tray or dish (or other glass dish) in the freezer before scooping. Pyrex seems to keep colder for longer (when compared to metal trays). Then, pre-scoop your ice cream onto the chilled Pyrex. Once the balls have had some time to fully freeze again, I'd suggest wrapping or covering up the tray/dish to make sure the ice cream doesn't dry out in the freezer. Do not wrap them up before they have fully frozen again - you risk the cover sticking to them (unless you have a proper lid). They turn a darker colour when dried out, so don't scoop your ice cream toooooo far in advance (1-5 days is fine).

Some extra scoops I didn't end up using in a shoot (except the bottom left one, ignore that). You can see how the Pyrex dish really holds onto that frost and keeps it cold
4. Keep your ice cream at the back of the freezer
It's colder at the back! Keep your pre-scooped balls at the back of the freezer to ensure maximum solidity. Try to keep the tub at the back before you scoop your balls too - you don't want to be trying to scoop not fully frozen ice cream. Trust me, it becomes a sticky mess and you don't get the nice texture on the scoops.
You'll also want to ensure your ice cream is properly frozen (though not over-frozen - don't purposely turn your freezer temperature way down lower than you'd usually have it at) before scooping. I'd suggest having it in the freezer at least overnight after you received/ purchased it before scooping.
5. Prepare some melted ice cream
What??? Why would I need melted ice cream???
If you prepare a separate little cup of melted ice cream right before the shoot, it will allow you to control the way the ice cream 'melts'. That is, you can have the lovely melty drips for added interest and texture, whilst still having those perfect scoops.
Alternatively, if you know your way around Photoshop, you could also just let the scoops melt naturally and composite the shots of the unmelted scoops in whilst keeping the drips. However, it will be less controlled.
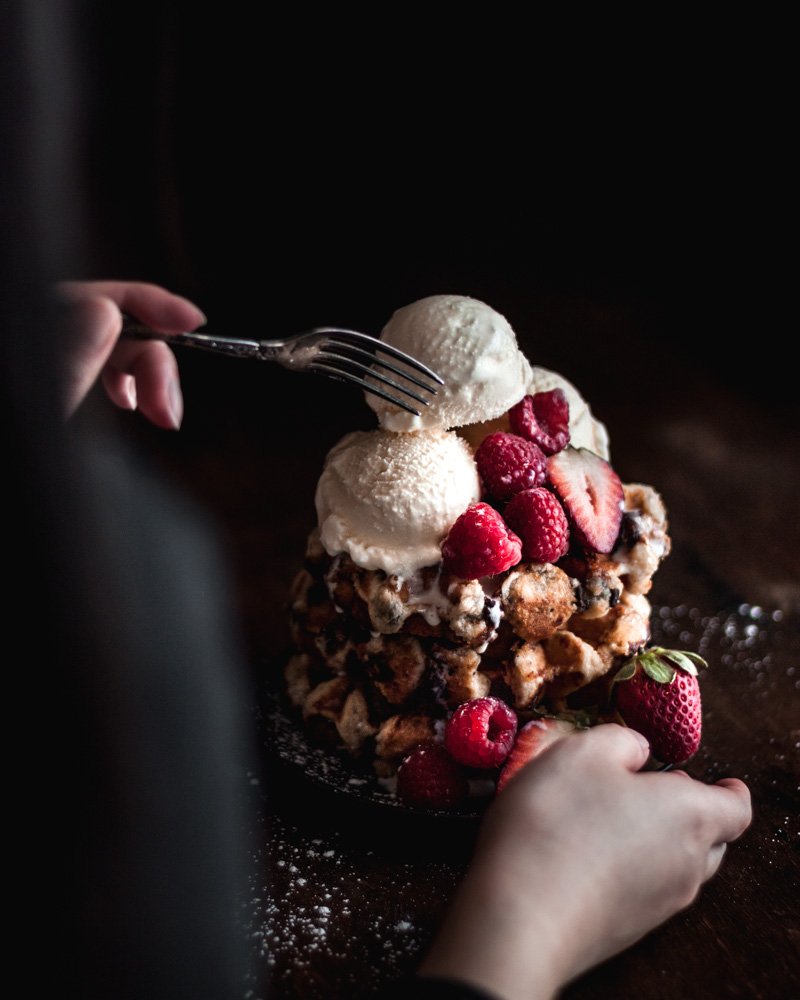
To control the drips for the below cinemagraph, I spooned the melted ice cream onto the waffles and a little on top of the scoops to make it look a bit more natural

6. Don't use a hot scoop
I know this seems to go against better judgement, but hear me out. I know most people know not to use a cold scoop because it would be harder to cut through the ice cream (plus the ice cream you have scooped would stick more to a cold scoop and be more difficult to get out), but don't actually use a hot scoop. Use an ever so slightly warmer than room temperature scoop. An actual hot scoop will melt away all the texture.
For me, I found that the best way was to dip the scoop in hot or warm water, dry it, then let it cool down just a little before scooping instead of scooping immediately. Or just use the scoop without the hot water if it's a hot day. Warm it up just in your hands if it feels a little cool.

7. Pack the ice cream in the scoop
Try to have the first 'swipe' of the scoop be smooth and curl in the scoop (not a deal-breaker though), then scoop as normal and pack the ice cream into the scoop with your hand. This will ensure your scoop is properly full and, if you overfill it then squish it in, having it spill around the sides, this will also create the little ruffle around the bottom of the scoop. You can also pick away at the ruffle once it is properly frozen if it is too big or not to your liking.
A full scoop will also make it so that it seems like your ice cream doesn't melt as fast. I say 'seems' because it still technically melts at probably the same rate, but scoops that are not packed in will have the appearance of melting fast because there are gaps for the ice cream to melt into. Packing it in will help it keep its shape for longer, just make sure you don't touch it.

8. Prepare to get rid of frost
Some frost can be nice and add to your scene (depends on the message you or your client want to convey), but it can also be too much that it obstructs any features on the subject. If shooting ice cream tubs or sticks, have on hand a damp cloth or tissue and a dry one. The damp one helps to wipe away frost, and the dry one will wipe away the moisture from the damp one.
You may also want a brush with stiff bristles, like a toothbrush, to scratch away at any frost.

Not retouched. Retouching lots of frost is a PAIN
9. Take a shot as soon as the ice cream comes on set... and also when the ice cream is off the set
Even if you're planning on adding toppings to your ice cream, always take a shot before the toppings go on. This way you'll be able to composite in less melted parts of the ice cream if needed, and you'll have more options in case you prefer it without the toppings (it happens!). If you have your camera all set up and ready to go (as you should!), it should only take a second to snap a shot anyway, so just do it!
This goes for most shoots anyway - you always want to take shots along the way, like when you add one little thing in, when you move something just a smidge, just take the shot!
Also remember that you can still change the rest of the scene once the ice cream has gone back in the freezer, so if you think of something to change to the scene (when the ice cream is already in it) that will take some time to set up, just prioritise shooting the ice cream, then change the scene.
However, this will only work if you plan to only shoot it from the exact same position. This is where having multiple spare scoops comes in handy! Want to shoot a different angle but the ice cream has already melted? Change the angle and bring in your spares!
The below shot is a composite of 5 different shots - the original scoop (including majority of the scene), the dusting, the scoop on the left, the white chocolate, and the marshmallows
10. Scoop for the container you have
What do I mean by this?
This might be a controversial opinion, but I think different sized and shaped containers require different scooping ~techniques~. Longer containers are generally the easiest to scoop from as they allow for long, uninterrupted scooping. With these containers, you can just scoop down the long way in long, smooth strokes.
However if you're shooting for a client, you may not have the luxury of choosing an ice cream brand with a longer container.
I've found that with narrower round containers it's easiest to scoop closer to the sides first for the initial curl, then scoop however you like to fill in the rest of the scoop. Some say scooping in an 'S' shape works, however I've found that this creates more gaps in the scoop (which we don't want). Short vertical strokes also works, but you risk wasting the ice cream around the edges, plus that ice cream around the edge will melt faster and collapse in, so may as well scoop it up first.
Though remember that something like this is more a personal preference, so if you have a specific way of scooping that works well for you, stick to it!

Bonus food styling tips!
Just some bonus tips that I thought might be helpful or interesting, but didn't make the top 10:
When shooting ice cream in a bowl, fill the bottom with something solid. Whilst this is also just a general food photography trick to fill a bowl, this is especially important for ice cream because it melts! This will prevent the ice cream from 'sinking' as fast.
If you want to show ice cream in a scoop, use one of your pre-scooped scoops instead of scooping another scoop - you want to show the texture, and if you scoop a new scoop, the texture will be inside the scoop and not facing the outside. Don't forget some drips or marks on the sides to make it look more natural though!
If you need your ice cream to float on the top of a drink and still want that texture to be prevalent, use a skewer to keep it properly afloat without it flipping and getting covered in the drink. Or, just use a toothpick to manually hold it in place until you feel it has stabilised.
Try to find an ice cream scoop with a thinner/ sharper edge. This will help cut through the ice cream better. Also, this sounds like a no-brainer, but I find that rounder scoops create rounder balls, so keep that in mind when choosing a scoop.
If you get to decide what ice cream to use, choose one with a lower fat content. They tend to melt slower. Ones with stabilisers in them also generally hold their shape for longer (again, just don't touch them).
If you find any of these tips helpful or give them a try, let me know or tag me on Instagram @fliske. I'd love to see your shots!
To stay up to date with all my posts, subscribe by entering your email below - I promise no spam!